
Imagine a slice of nature, perfectly encapsulated within a glass vessel, bringing a touch of the outdoors into your living space. Whether you’re a budding gardener or a seasoned plant enthusiast, creating your own DIY terrarium offers a delightful way to express creativity while cultivating a miniature ecosystem.
Terrariums are not just decorative; they are a testament to the beauty of plant life and a gentle reminder of our connection to nature. In this article, you will discover the step-by-step process of crafting your own terrarium, from selecting the right container and choosing the ideal plants to mastering the art of layering and understanding the delicate balance of moisture and light.
As you embark on this green-fingered journey, you’ll find that terrarium building is not only rewarding but also a wonderful way to experiment with diverse plant species and designs. We’ll guide you through troubleshooting common issues, ensuring your little oasis thrives and brings joy for many months to come.
Select a Suitable Container
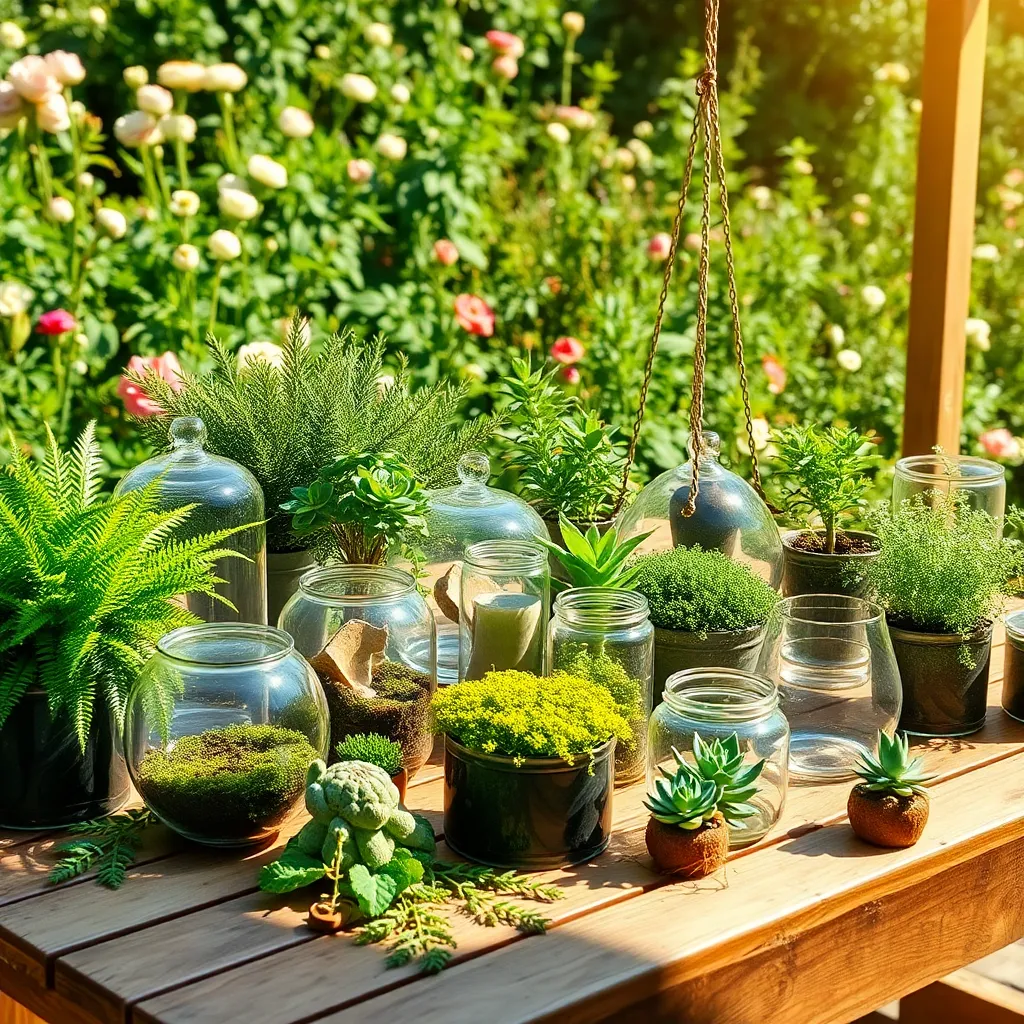
When selecting a container for your DIY terrarium, consider the size and type of plants you want to grow. It’s important to choose a container with enough space to allow for proper air circulation and root growth, enhancing the health of your plants.
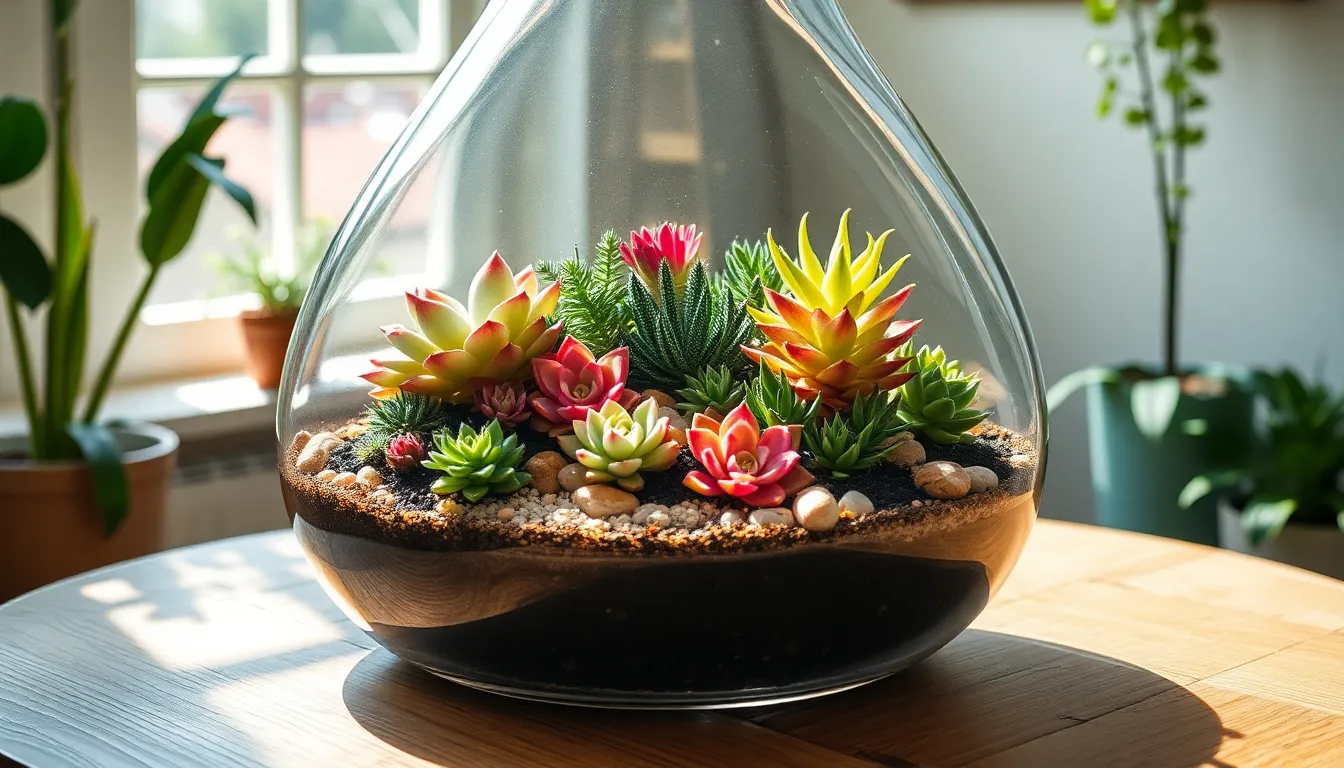
Glass containers are popular for terrariums because they allow light to penetrate and provide an attractive display. Make sure the glass is clear and free of any coatings that might block sunlight, as plants need adequate light to thrive.
For those seeking a more advanced setup, consider containers with a lid to create a humid environment suitable for moisture-loving plants. This closed system helps maintain humidity, which is perfect for plants like ferns and mosses that thrive in moist conditions.
Drainage is a critical factor to consider when selecting your container. Since most terrariums lack drainage holes, it’s essential to start with a layer of rocks or pebbles to prevent waterlogging and root rot.
Layer with Drainage Materials
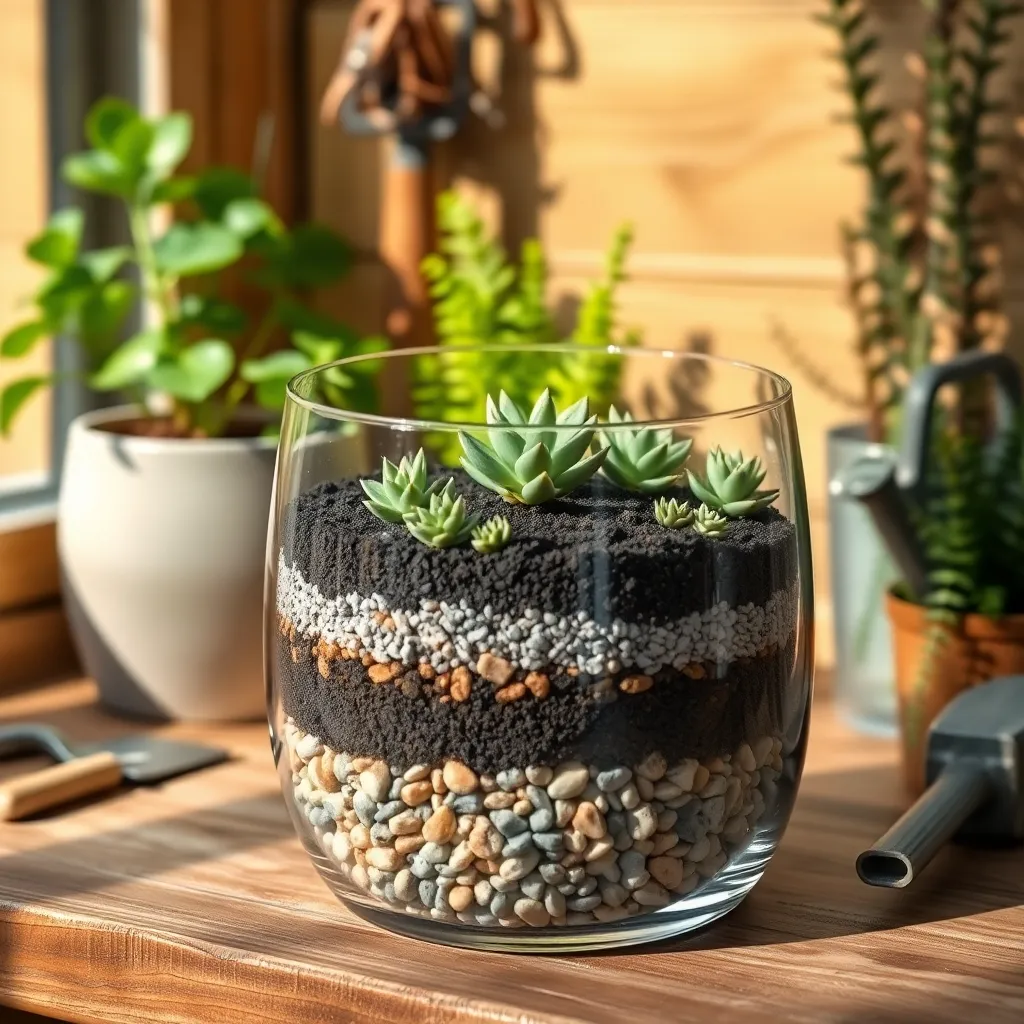
Once you’ve selected your container, it’s crucial to start with a drainage layer to ensure your plants thrive. Drainage is essential because it prevents water from accumulating at the bottom, which can lead to root rot.
Begin by adding a layer of small stones or pebbles, about an inch deep, to the bottom of the container. This layer will help excess water escape from the soil, maintaining the ideal moisture level for your plants.
On top of the pebbles, add a thin layer of activated charcoal. The charcoal not only helps with drainage but also absorbs impurities and prevents odors, keeping your terrarium fresh and healthy.
For advanced gardeners, consider using a mesh or a piece of landscape fabric between the drainage layer and the soil. This technique prevents soil from settling into the pebbles while still allowing water to drain effectively.
Add Terrarium-Ready Potting Soil
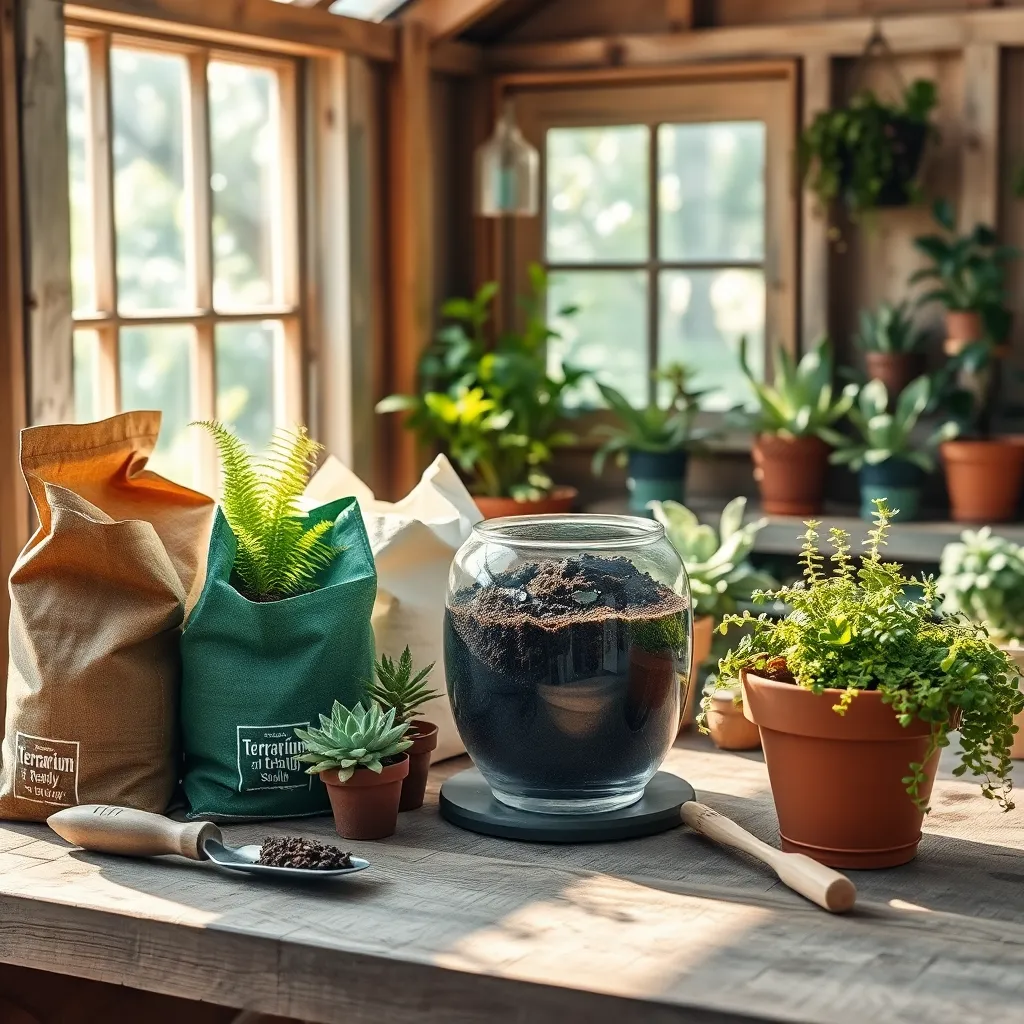
Once you’ve established a foundation with drainage materials, it’s time to add a layer of terrarium-ready potting soil. This type of soil is specifically designed to support the unique environment of a terrarium, retaining moisture while ensuring proper aeration.
Begin by selecting a high-quality potting mix that contains a blend of peat moss, vermiculite, and perlite. These components provide the perfect balance of moisture retention and drainage, crucial for maintaining plant health in a confined space.
For those with a bit more experience, consider customizing your soil mix by adding activated charcoal. This addition helps control odors and keeps the soil fresh by filtering impurities. It’s an advanced tip that can make a significant difference in the longevity of your terrarium ecosystem.
When adding the soil, aim for a depth of about one to two inches, depending on the size of your container and the plants you plan to include. This provides enough room for roots to establish while preventing the terrarium from becoming overcrowded.
Before planting, lightly moisten the soil by misting it with water, ensuring it’s damp but not soggy. This step helps the plants acclimate and reduces transplant shock, giving your terrarium the best start possible.
Arrange Plants Thoughtfully
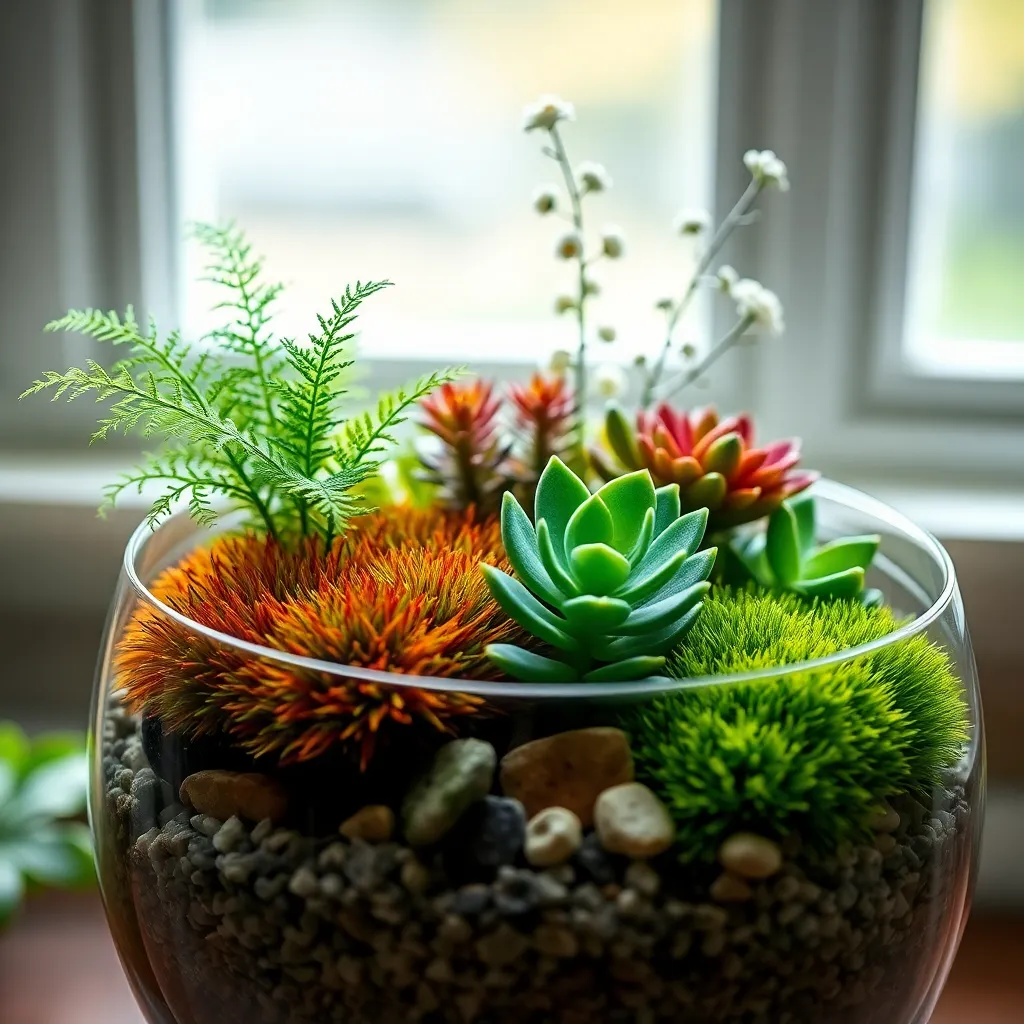
Once your potting soil is in place, it’s time to arrange your plants thoughtfully to create a balanced and thriving terrarium. Begin by selecting plants with similar light and moisture requirements, such as ferns, mosses, and small tropical species, to ensure your terrarium ecosystem is harmonious.
Position taller plants towards the back or center of your container to create depth and visual interest. This arrangement not only enhances the aesthetic appeal but also allows shorter plants to receive adequate light, preventing them from being overshadowed.
For a more dynamic display, consider using plants with varying textures and colors. Contrast broad-leafed plants with those having delicate, feathery foliage to add visual intrigue and dimension to your terrarium.
It’s crucial to avoid overcrowding by leaving space between plants, allowing for growth and air circulation. Overcrowding can lead to poor airflow and increased humidity, which may cause mold or rot.
After arranging your plants, water sparingly to avoid waterlogging, which is a common issue in enclosed environments. A misting bottle is ideal for maintaining the humidity levels required by most terrarium plants, offering a gentle, even distribution of moisture.
Decorate and Maintain Moisture
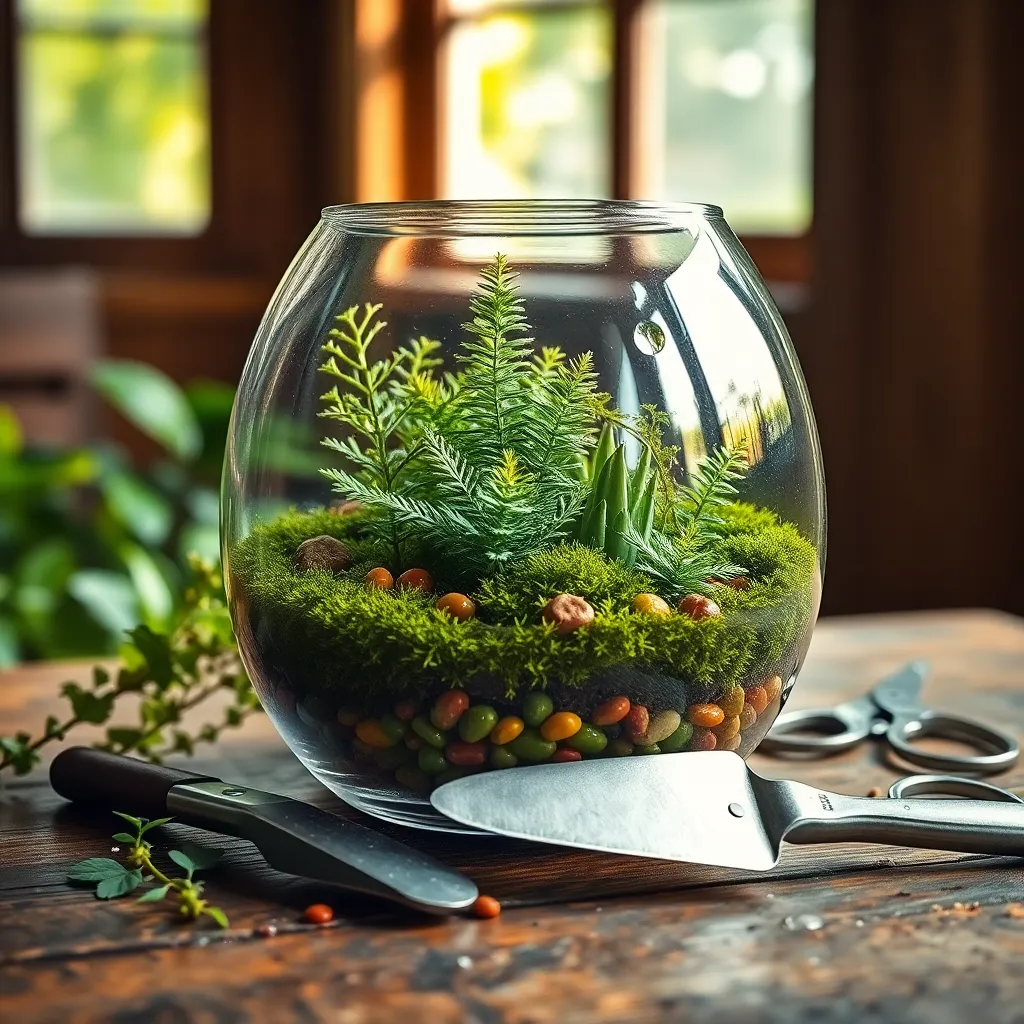
To effectively decorate and maintain moisture in your terrarium, start by choosing the right materials. Use a layer of small stones or pebbles at the bottom to create a drainage system, preventing excess water from drowning plant roots.
Next, cover the stones with a thin layer of activated charcoal, which helps keep the environment fresh by absorbing odors and toxins. Above the charcoal, add a layer of high-quality potting soil, which should be appropriate for the types of plants you are using in your terrarium.

For plant selection, opt for species that thrive in humid conditions, such as ferns, mosses, and air plants. These plants naturally adapt to the enclosed environment, making them perfect choices for a thriving terrarium.
Watering your terrarium requires a delicate balance; you want to maintain moisture without creating a swamp. Use a spray bottle to mist the plants lightly, ensuring that the soil remains damp but not soggy.
Monitor the moisture levels by observing the condensation on the glass walls; a light mist is ideal, while heavy droplets indicate overwatering. If you notice the soil drying out too quickly, you may need to adjust the size of your container or the types of plants to better retain moisture.
Lastly, consider adding small decorative elements like stones or figurines to enhance the visual appeal while still allowing for adequate airflow. These elements can be strategically placed to mimic natural landscapes, creating a mini-ecosystem that is both beautiful and functional.
Conclusion: Growing Success with These Plants
In crafting your own DIY terrarium, you’ve not only cultivated a miniature world of beauty but also nurtured essential relationship skills. This journey has touched on five key concepts: the importance of patience in allowing growth, the art of communication through shared activities, the balance of giving and taking as you choose plants and materials, resilience in adapting to challenges, and the joy of nurturing something together. Now, why not bring these insights to life? Start a new tradition with your partner by creating a terrarium together, fostering connection through creativity.
Remember, relationships thrive on shared experiences and continuous growth. Bookmark this article to revisit these principles and refresh your skills whenever needed. As you look to the future, know that each tiny plant you care for mirrors the potential within your relationship; with time, attention, and love, it too can flourish beautifully.
Your journey towards a more connected relationship begins with a single step—take it today, and let this guide be your companion along the way. Save it now, and embrace the promise of flourishing together.