
Perennials are the steadfast companions of any gardener’s landscape, offering a reliable bloom year after year with minimal fuss. Whether you’re just starting your gardening journey or have years of experience under your belt, these resilient plants promise not only beauty but an opportunity for creativity with every season. In this article, we’ll explore how you can transform your garden into a haven of innovation with ten delightful DIY projects using perennials, each designed to elevate your outdoor space.
For beginners, the world of perennials might seem vast, but fear not—these projects are crafted to be engaging and straightforward, ensuring you gain confidence with each endeavor. Experienced gardeners will find new inspiration here, as we delve into creative uses for your perennial favorites that go beyond traditional planting. From crafting charming perennial borders to creating living art pieces, you’ll discover a treasure trove of ideas that blend functionality with aesthetic appeal.
As we journey through these projects, you’ll learn not only the step-by-step process for each but also gain insights into selecting the right perennials for your specific environment. Embrace the joy of hands-on gardening as we guide you through projects that range from practical to whimsical, all while celebrating the perennial’s ability to transform any garden into a lush, thriving paradise. So, grab your gardening gloves and let’s embark on an adventure that promises to enrich both your garden and your soul.
Creating Perennial Flower Beds
When designing a perennial flower bed, start by selecting a variety of plants that will bloom at different times of the year. This ensures color and interest throughout the growing season and keeps your garden vibrant and enticing.
Consider the specific needs of each plant—such as sunlight, soil type, and water requirements—when placing them in your garden. Grouping plants with similar needs together can simplify maintenance and ensure healthier growth.
Beginner gardeners should focus on hardy perennials like daylilies, hostas, and coneflowers, which are low-maintenance and adaptable to various conditions. Advanced gardeners might experiment with more exotic choices like delphiniums or Japanese anemones, which require a bit more care and attention.
Prepare your soil by incorporating organic matter such as compost, which improves drainage and nutrient content. Regular mulching will help retain moisture and suppress weeds, creating a healthier environment for your perennials to thrive.
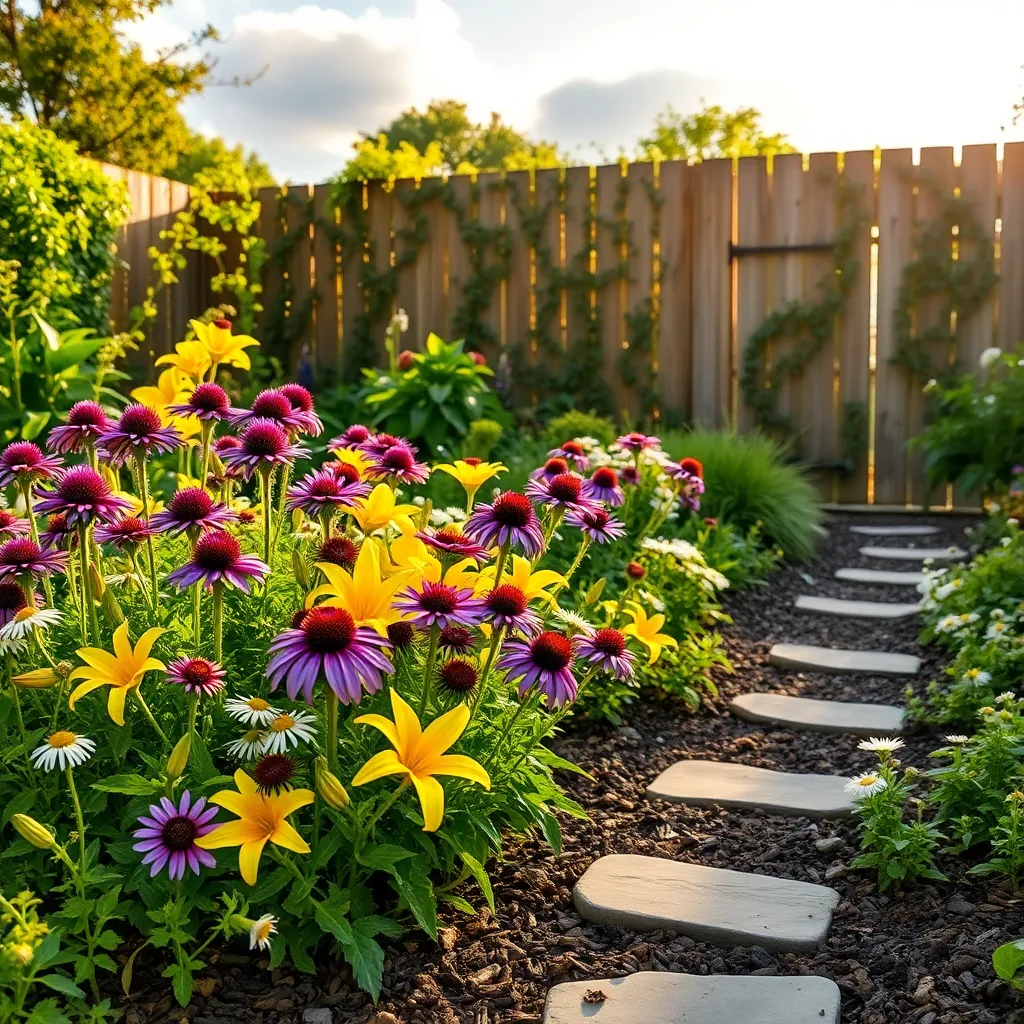
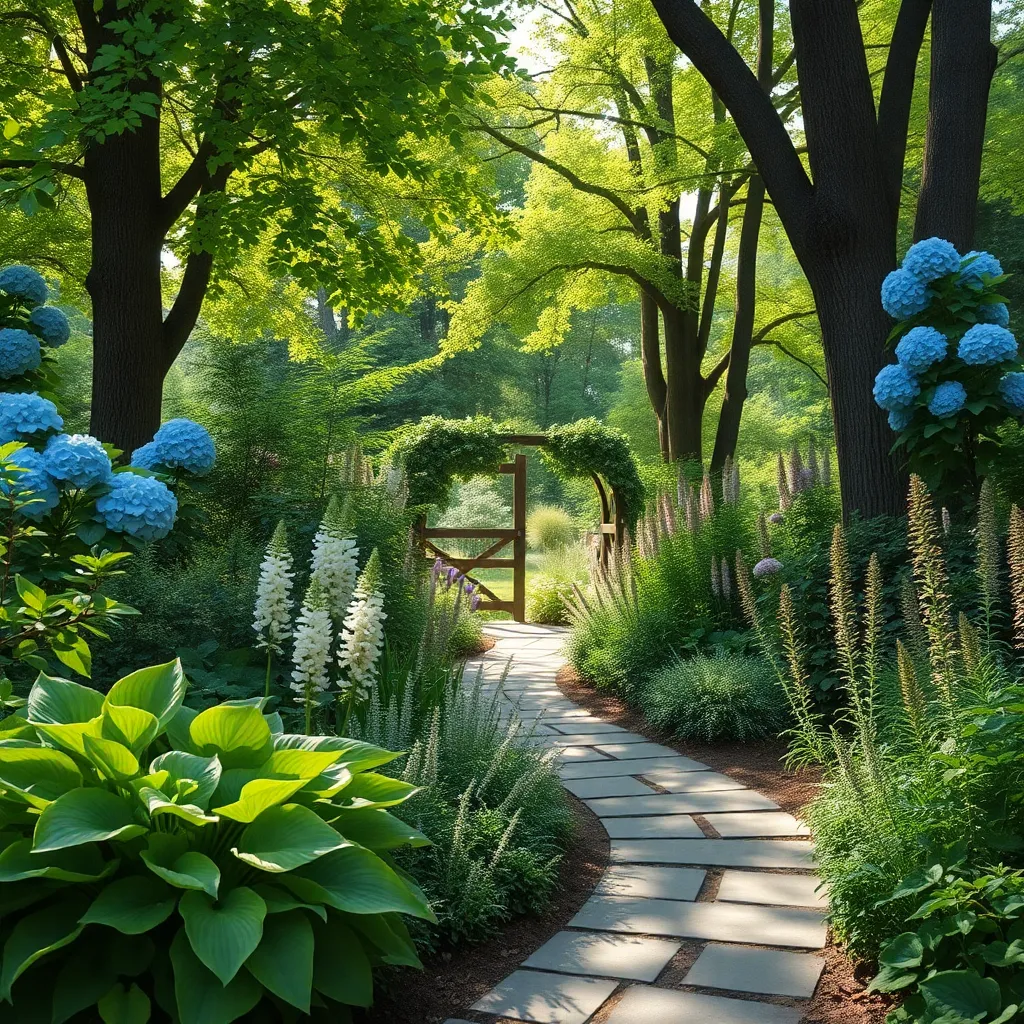
Designing a Perennial Walkway
Transforming a simple path into a vibrant perennial walkway can greatly enhance your garden’s allure. Start by choosing a variety of perennials that thrive in your climate, ensuring a colorful display throughout the seasons.
To create visual interest, consider the height and color of the plants. Plant taller perennials like coneflowers or delphiniums toward the back, while shorter ones like hostas or lavender can line the edges.
Soil preparation is crucial for a successful perennial walkway. Ensure the soil is well-drained and rich in organic matter, which can be achieved by mixing in compost or well-rotted manure before planting.
Watering needs may vary depending on the types of perennials you choose. Most perennials benefit from deep, infrequent watering, encouraging their roots to grow deep and strong.
For advanced gardeners, consider adding a layer of mulch around your plants. This not only conserves moisture and suppresses weeds but also adds a neat, finished look to your walkway.
Regular maintenance will keep your perennial walkway looking its best. Deadhead spent blooms to encourage more flowers, and divide overcrowded plants every few years to maintain their vigor.
Constructing Perennial Plant Borders
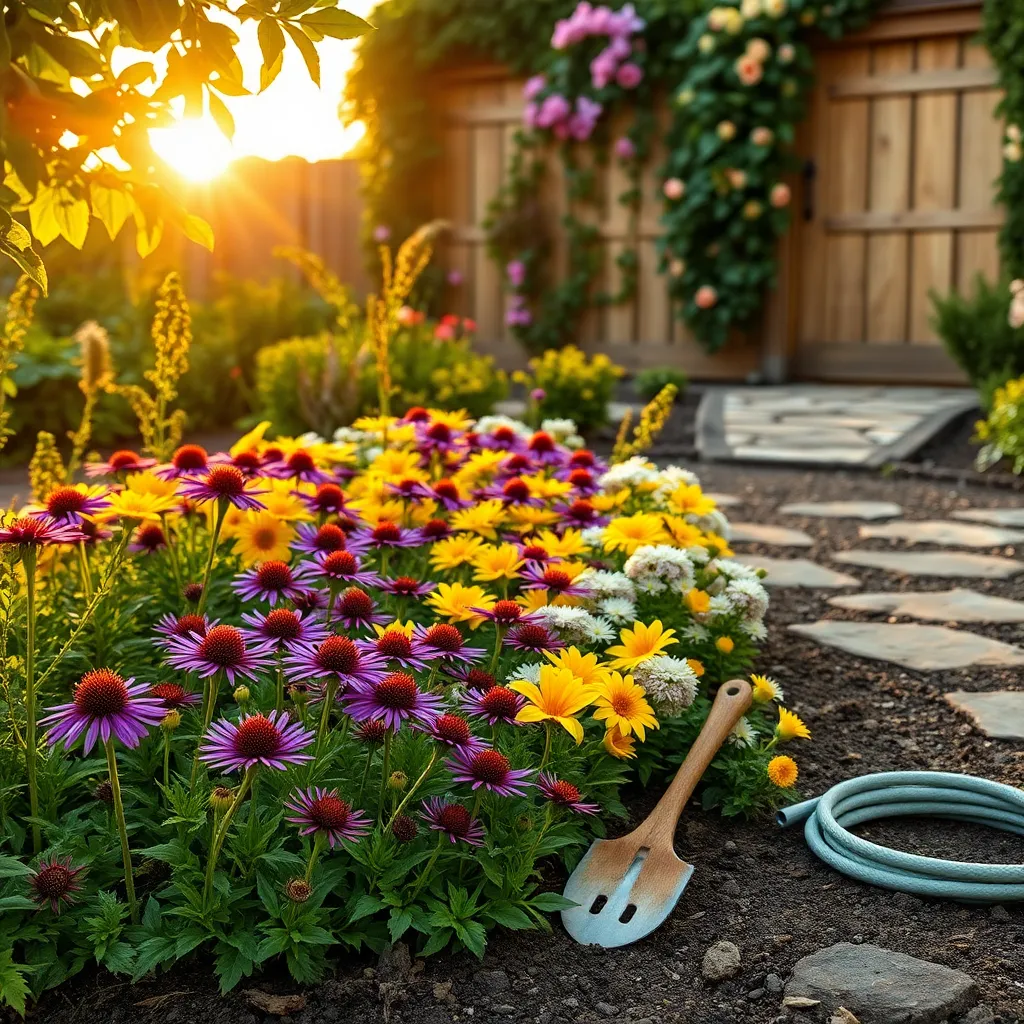
Creating a perennial plant border can beautifully define the edges of your garden while adding color and texture year after year. Start by choosing a location with well-draining soil that receives at least six hours of sunlight daily for optimal growth.
When selecting perennials, consider the plant heights to create a tiered effect, with taller plants in the back and shorter ones in the front. This not only enhances the visual appeal but also ensures that all plants receive adequate sunlight.

Amend the soil with organic matter like compost to improve its fertility and drainage, which is crucial for perennial health. Water the border deeply once a week, especially during dry spells, to encourage deep root growth.
Begin planting in early spring or fall, which allows perennials to establish their roots before extreme temperatures hit. For an advanced touch, mix in perennials with staggered bloom times to maintain continuous color throughout the growing season.
Building Vertical Perennial Gardens
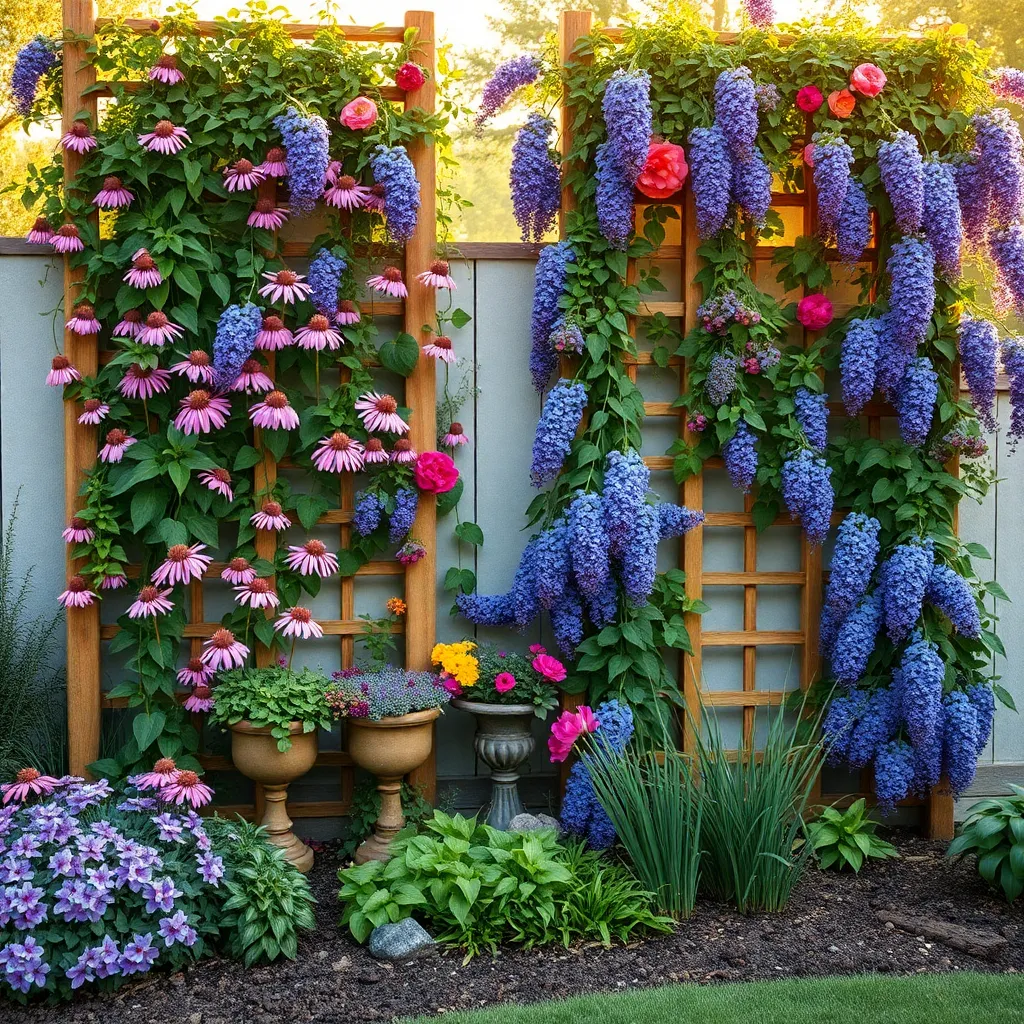
For those looking to maximize space, building a vertical perennial garden can be both a practical and visually stunning solution. Begin by selecting a sturdy vertical structure, such as a trellis or a wall-mounted planter, ensuring it’s securely anchored to withstand weather conditions.
Choose perennials that thrive in your climate and consider their light and water requirements. Climbing plants like clematis and honeysuckle are excellent choices, as they naturally grow upwards and add lush greenery to vertical spaces.
When planting, use a high-quality potting mix that retains moisture yet drains well, as vertical gardens can dry out faster than traditional beds. Watering is crucial, so consider installing a drip irrigation system to ensure consistent moisture levels without overwatering.
For maintenance, regularly check for pests and trim back any overgrowth to keep your plants healthy and your garden looking tidy. An advanced tip is to rotate plants seasonally if your structure allows, giving different perennials a chance to shine throughout the year.
Designing a Perennial Herb Spiral

Creating a perennial herb spiral is a delightful way to add structure and function to your garden. This design not only saves space but also provides a variety of microclimates for your herbs to thrive in.
Begin by selecting a sunny spot in your garden, as most herbs prefer full sun exposure. Use bricks, stones, or recycled materials to construct a spiral that gradually ascends from the base to the top, allowing for efficient water drainage.
Soil preparation is crucial for a successful herb spiral. Fill your spiral with a well-draining soil mix, ideally a combination of garden soil, compost, and sand to ensure nutrients are available while preventing waterlogging.
Plant herbs with similar water needs together, placing drought-tolerant ones at the top. Here, Mediterranean herbs such as rosemary and thyme will flourish, while moisture-loving herbs like mint thrive at the base.
Regular watering is essential, especially during the establishment phase. In general, aim to water your spiral once or twice a week, adjusting based on rainfall and the specific needs of your chosen herbs.
Advanced gardeners might consider incorporating an irrigation system into their spiral. This can be as simple as a soaker hose winding through the structure, ensuring even water distribution with minimal effort.
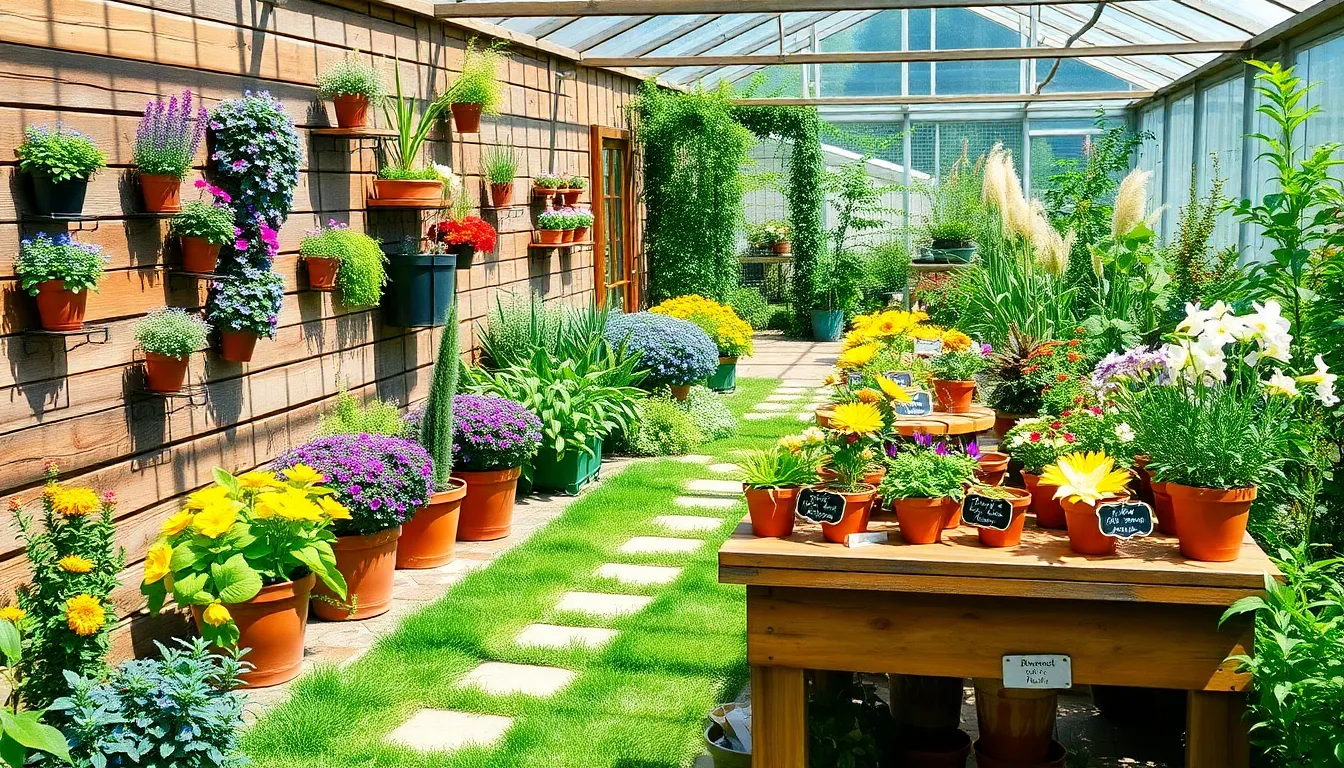
Crafting Perennial Container Displays
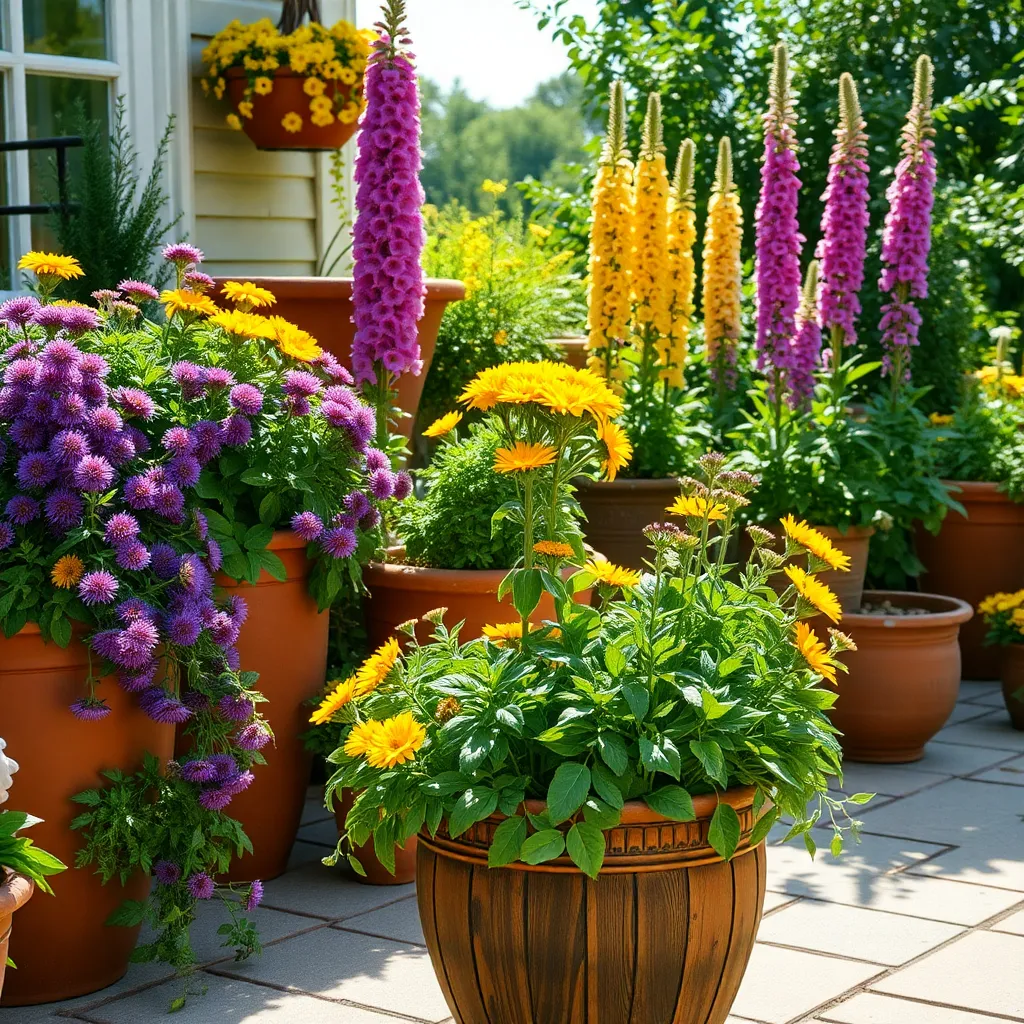
Creating perennial container displays allows you to enjoy year-round beauty with minimal maintenance. Choose containers with good drainage and fill them with a high-quality potting mix to give your perennials the best start.

Consider using a mix of perennials with different bloom times to ensure continuous color. For instance, plant early bloomers like crocus alongside late bloomers such as asters to maintain interest throughout the seasons.
Place sun-loving perennials like Echinacea and Coreopsis in spots that receive at least six hours of sunlight daily. Shadier locations can host ferns and hostas, which thrive in lower light conditions.
Regularly water your containers, as potted plants tend to dry out quicker than those in the ground. Check soil moisture daily during hot weather and water thoroughly when the top inch of soil feels dry.
Fertilizing your container plants every four to six weeks with a balanced, slow-release fertilizer will keep them thriving. For an advanced touch, consider incorporating compost into your potting mix to enhance soil fertility naturally.
Building a Perennial Water Feature
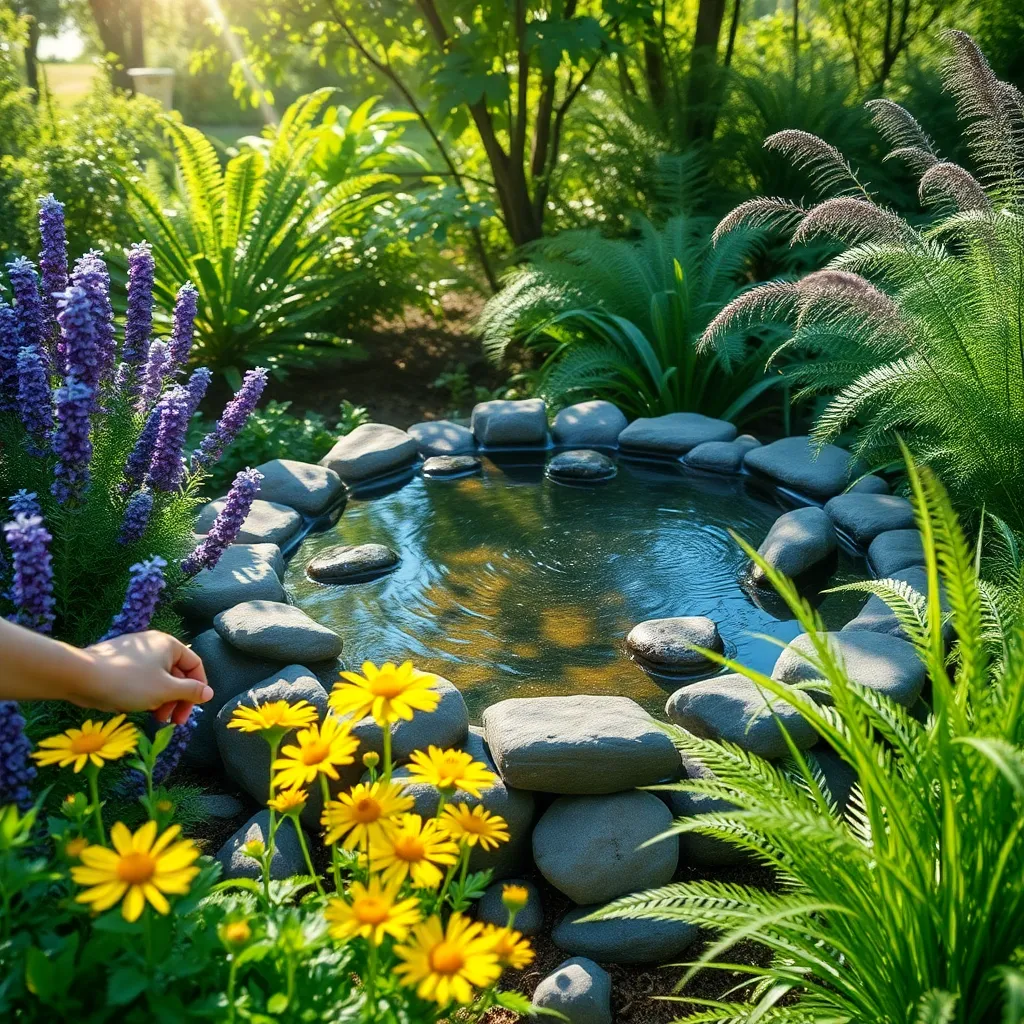
Building a perennial water feature in your garden is a gratifying project that can enhance the aesthetic and ecological value of your outdoor space. Start by selecting a location that receives at least partial sunlight, as most perennials thrive in these conditions.
Consider incorporating water-loving perennials such as irises, marsh marigolds, and pickerel weed, which add vibrant colors and attract beneficial wildlife. Before planting, prepare the soil by ensuring it is well-draining and slightly acidic; a pH between 6.0 and 7.0 is ideal for most perennials.
Dig a shallow basin to create the base of your water feature, lining it with a pond liner to prevent water loss. Surround the basin with stones or decorative rocks to create a natural look while also providing habitat for amphibians and insects.
For a simple yet effective design, use a submersible pump to circulate water, mimicking the gentle sound of a babbling brook. Regularly check the water levels and top up as necessary, especially during dry spells, to maintain a healthy environment for your plants and aquatic life.
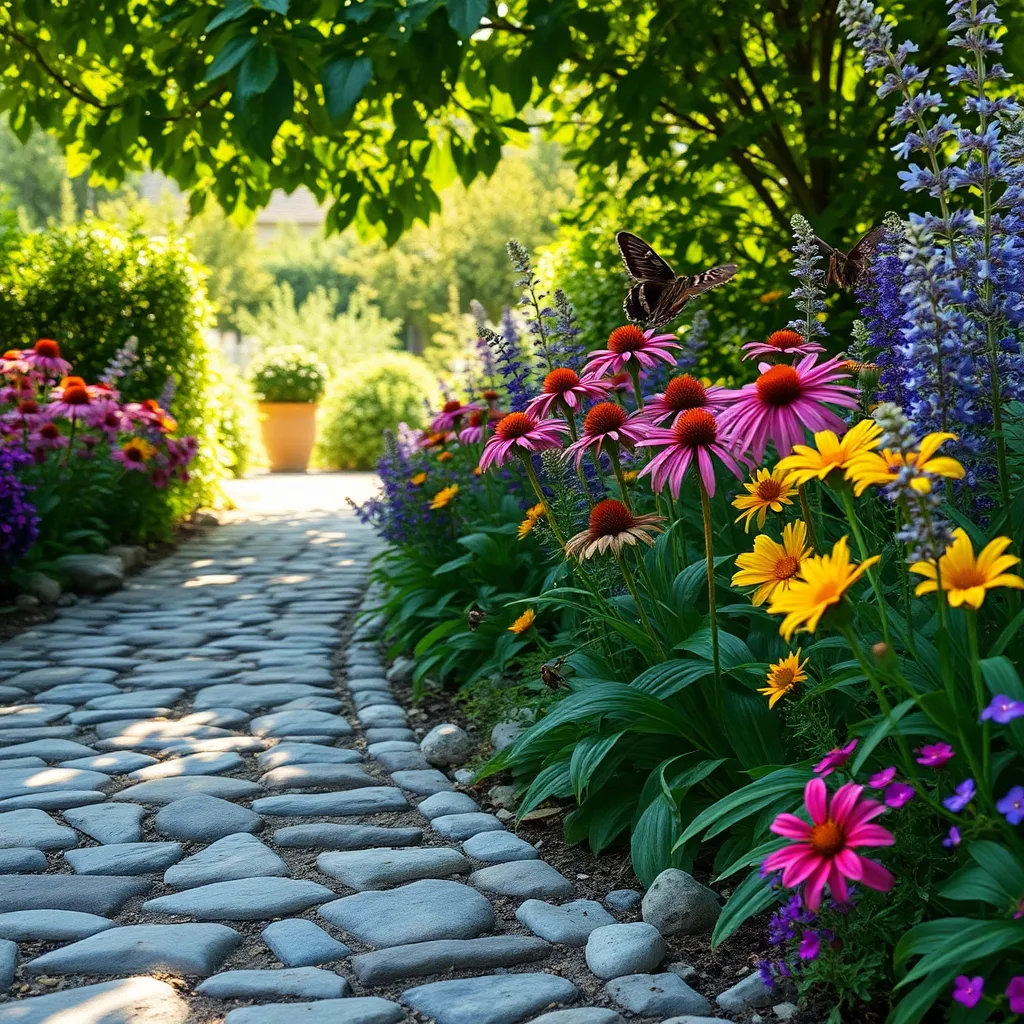
Constructing Perennial Pollinator Zones
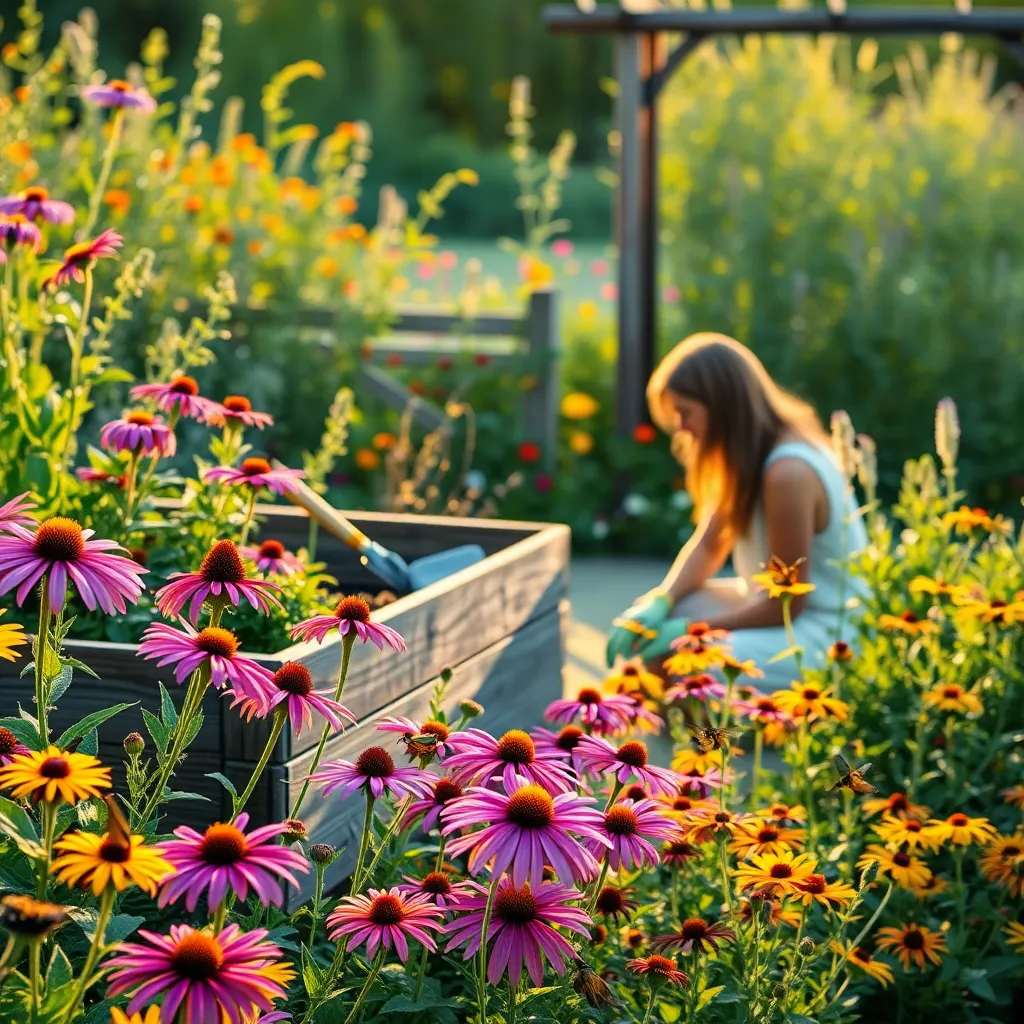
Creating a perennial pollinator zone in your garden can significantly enhance biodiversity and support local ecosystems. Start by selecting a mix of native perennial plants known to attract pollinators like bees, butterflies, and hummingbirds, ensuring a continuous bloom from spring to fall.
Site selection is crucial for a successful pollinator zone. Choose a location that receives at least six hours of sunlight daily, as most pollinator-friendly perennials thrive in sunny conditions.
When preparing the soil, aim for a well-draining mix enriched with organic matter like compost. This not only provides nutrients but also enhances soil structure, promoting healthy root development.
Consider planting in groups of three to five of the same species to create visual impact and make it easier for pollinators to locate the flowers. Water the plants deeply but infrequently, allowing the soil to dry out slightly between waterings to prevent root rot.
For more advanced gardeners, incorporate a variety of flower shapes and sizes to support different pollinator species. Adding a shallow water source, such as a birdbath or a small pond, can further entice pollinators to your garden and encourage them to stay longer.
Designing Perennial Shade Gardens

Creating a perennial shade garden can transform a dimly lit corner into a lush, green oasis. Start by selecting plants that thrive in low-light conditions, such as hostas, ferns, and astilbes, which are known for their ability to flourish without direct sunlight.
For healthy growth, ensure your soil is well-draining yet moisture-retentive by amending it with organic matter like compost. Water deeply but infrequently, allowing the top inch of soil to dry out between waterings to prevent root rot.
Consider the varied textures and colors that shade-loving perennials offer to create depth and interest in your garden. Incorporate plants with different leaf shapes and hues, such as the silver tones of lungwort and the rich greens of hellebores, to add visual appeal.
Advanced gardeners can experiment with layering plants in their shade garden, placing taller varieties like Solomon’s seal at the back and shorter ground covers like sweet woodruff at the front. This not only maximizes space but also enhances the garden’s structure and visual impact throughout the seasons.
Creating Perennial Ground Covers
Perennial ground covers offer an excellent way to fill in garden spaces with lush greenery while minimizing maintenance. They provide a natural solution for weed suppression and soil erosion, making them highly practical for both new and experienced gardeners.
When choosing perennial ground covers, consider plants like Creeping Thyme, Ajuga, and Sedum that thrive in various conditions. These varieties are not only low-growing but also resistant to pests and diseases, ensuring a healthy garden ecosystem.
It’s essential to prepare the soil well before planting; ensure it’s loose and well-draining to promote healthy root development. Mixing in organic matter like compost can improve soil fertility and provide a nutrient-rich environment for your perennials.
Watering frequency is crucial—most ground covers require consistent moisture until they are established. Once rooted, many can tolerate dry conditions, making them perfect for gardeners looking to conserve water.
For advanced gardeners, consider using ground covers to create contrasting textures and colors in your garden design. Experiment with layering different heights and foliage types to add depth and visual interest to your landscape.
Conclusion: Growing Success with These Plants
In exploring the ’10 DIY Projects Using Perennials,’ we’ve unlocked a treasure trove of relationship wisdom. From nurturing growth and resilience to embracing change and creativity, each project unveils a vital concept. We touched upon patience and long-term commitment, celebrated diversity and teamwork, highlighted effective communication through shared goals, and underscored the significance of mutual support. Each DIY project not only beautifies your space but also mirrors the foundational elements of thriving relationships.
To breathe life into these insights, choose one project that resonates with your current relationship journey. Begin today by setting aside time to undertake this activity together, fostering connection and shared purpose. Remember, growth and love happen in the little moments we intentionally create.
As you embark on this enriching path, make sure to save or bookmark this article. It’s a valuable resource to revisit whenever you seek inspiration or guidance in nurturing your relationship.
Looking ahead, remember that cultivating these relationship skills is like tending a garden—patiently and consistently. With each effort, you lay down roots for a future filled with love and understanding, empowering your relationship to flourish for years to come.