
In the delightful dance of gardening, few things bring as much joy as watching your favorite perennials flourish year after year. For both green-thumbed veterans and those just beginning their gardening journey, propagating perennials at home offers a rewarding way to expand your garden’s beauty and resilience. By learning the art of propagation, you can create new plants from your existing ones, allowing you to share the bounty with friends or simply fill your garden with lush, thriving greenery. This process not only saves money but also deepens your connection to the natural world as you nurture life from its tender beginnings.
Whether you’re looking to multiply the vibrant blooms of your cherished daylilies or the hardy foliage of hostas, this guide will equip you with the knowledge to do so with confidence. We’ll explore a variety of propagation methods suitable for different types of perennials, ensuring that you have the tools to succeed no matter what plants you grow. From division to cuttings, each technique offers its own set of benefits and challenges, but rest assured, with a little patience and practice, you’ll soon see your efforts come to life. As you dive into this enriching experience, you’ll not only enhance your garden’s diversity but also cultivate a deeper appreciation for the plants that grace your space.
In this article, we’ll walk you through the step-by-step process of propagating perennials, making it accessible for all skill levels. You’ll discover practical tips that simplify the journey, from selecting the right time for propagation to caring for your newly established plants. Along the way, we’ll share insights drawn from years of gardening experience, helping you avoid common pitfalls and maximize your success. So, grab your gardening gloves and join us as we embark on this exciting adventure of growth and discovery, where each new plant is a testament to your nurturing spirit and love for the earth.
Select Healthy Parent Plants
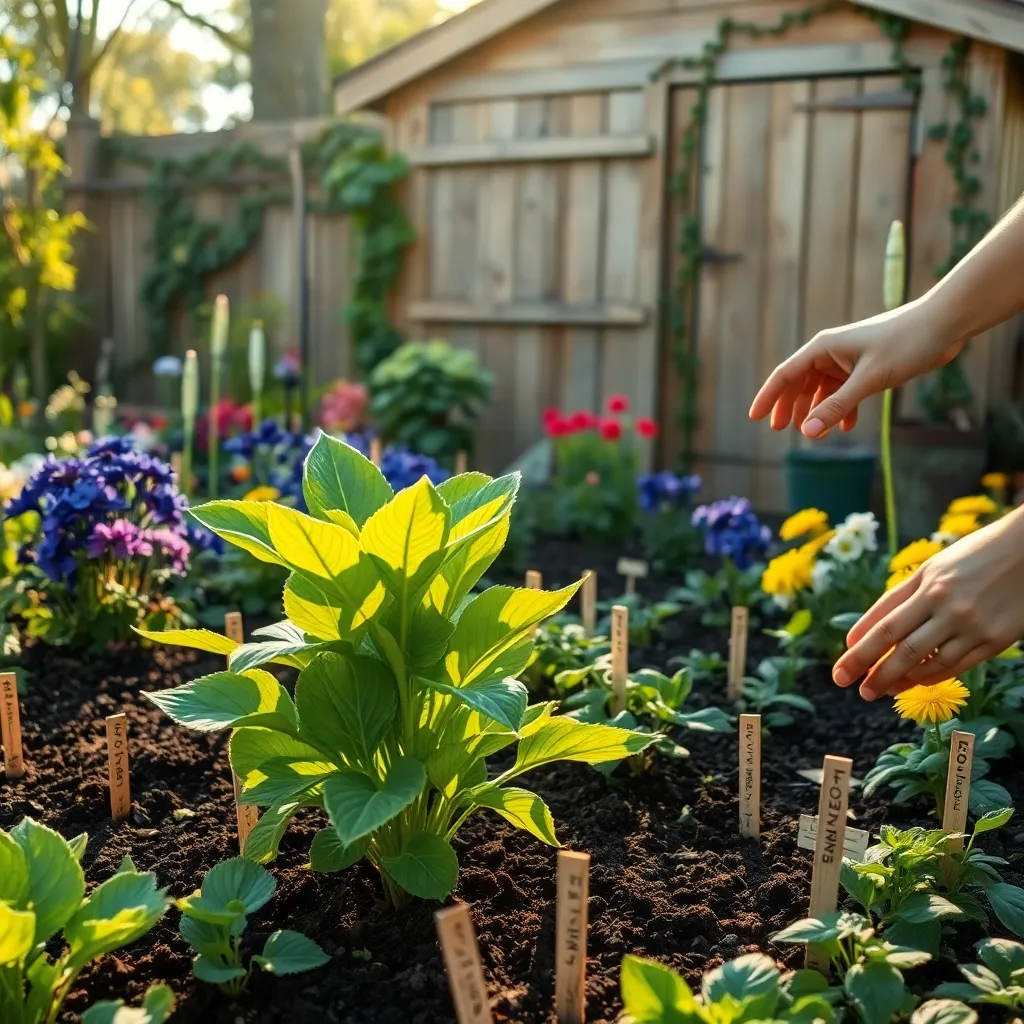
Choosing the right parent plants is crucial for successful propagation. Start by selecting healthy, vigorous plants that are free from disease and pests to ensure the best chances of success.
Look for plants with strong root systems and lush foliage, as these characteristics often indicate overall plant health. Avoid plants with yellowing leaves, as this may suggest nutrient deficiencies or poor health.
It’s also essential to pick plants that are in their prime growing season, typically spring or early summer for most perennials. This timing ensures that the parent plant has ample energy for both its own growth and the development of new cuttings or divisions.
For more experienced gardeners, consider the plant’s breeding potential; some varieties may offer unique traits worth preserving. Hybrid varieties might not propagate true to type, so it’s best to choose stable cultivars for consistent results.
Gather Necessary Propagation Tools
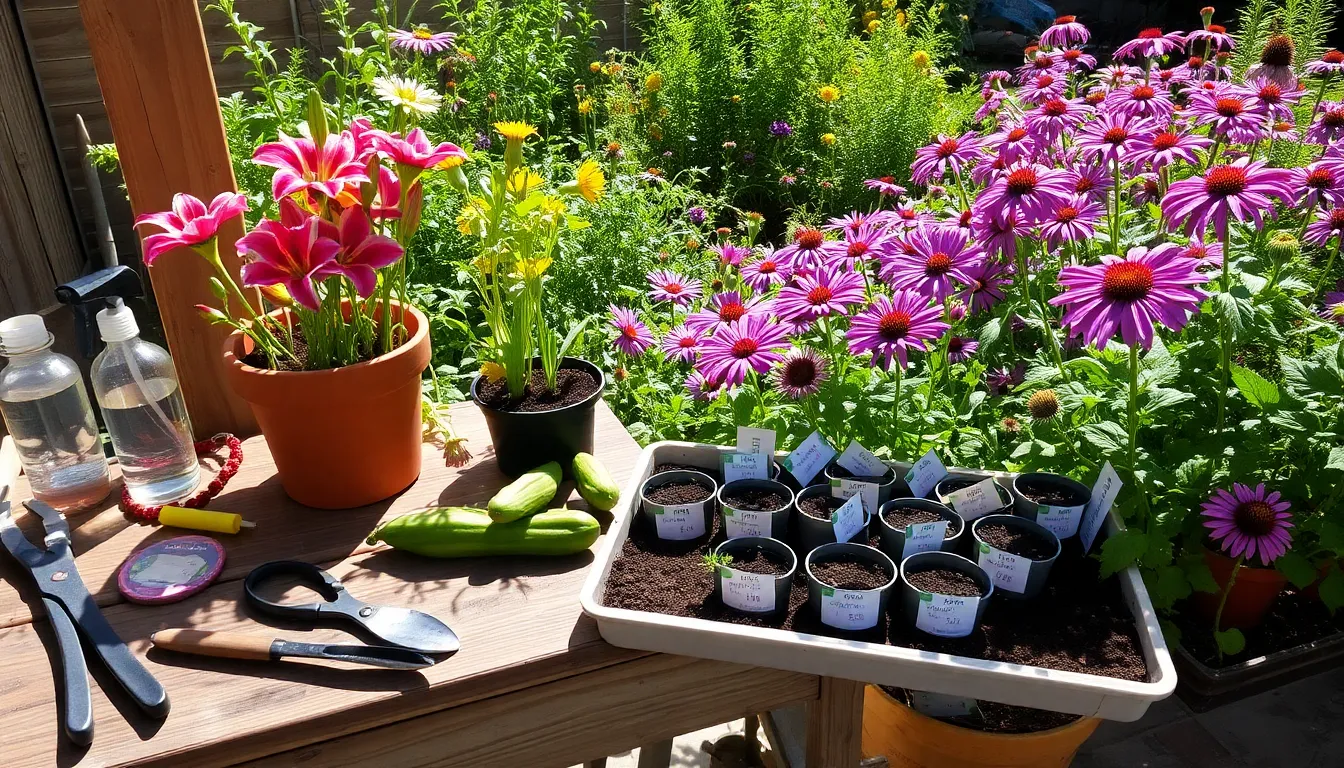
Before you begin propagating perennials, it’s crucial to assemble the right tools to ensure success. A clean, sharp pair of pruning shears or a knife is essential for taking cuttings or dividing plants without causing damage.
For those new to propagation, a basic set of tools is enough to get started. You’ll need a small trowel for digging and a misting bottle to keep cuttings hydrated during the rooting process.
More advanced gardeners might consider investing in a propagation mat or heating pad to provide consistent warmth, which can enhance root development. These tools are particularly useful when working with plants that thrive in warmer climates.
Additionally, it’s important to have a supply of clean pots and trays for planting your cuttings. Use a well-draining potting mix or a seed-starting mix to give your new plants the best start possible.
Take Cuttings from Perennials
Taking cuttings from perennials is an efficient way to expand your garden without purchasing new plants. Start by selecting healthy, non-flowering shoots from the parent plant, ideally in the morning when moisture levels are high.
Use a clean, sharp knife or pruning shears to make a cut just below a leaf node. This is where new roots will develop, so it’s crucial to keep the cut smooth and free of damage.
Strip the leaves from the lower half of the cutting to prevent rot and to encourage root growth. Plant the cutting into a pot filled with a mix of half peat and half perlite for optimal drainage and aeration.
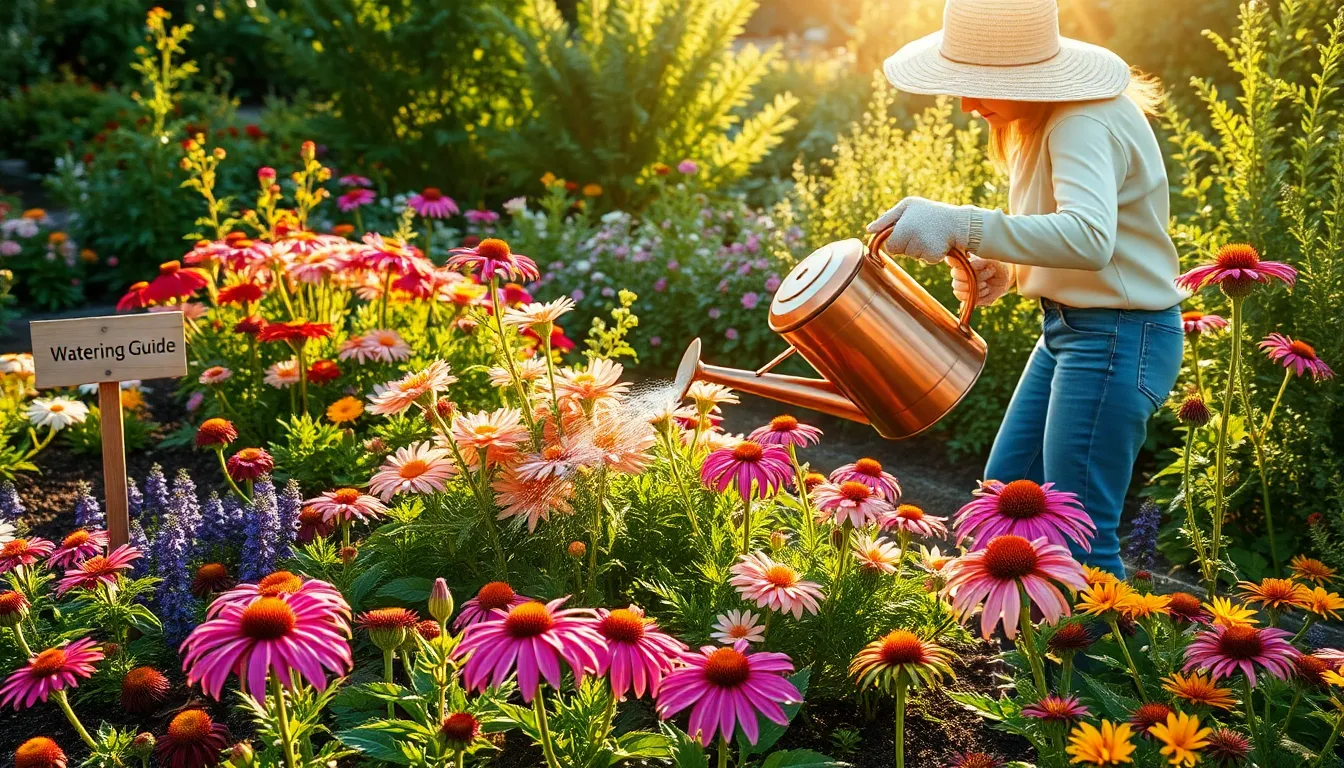
Water the cuttings immediately after planting to ensure they settle into the soil mix. Keep the soil moist but not waterlogged, and place the pot in a warm, bright area away from direct sunlight.
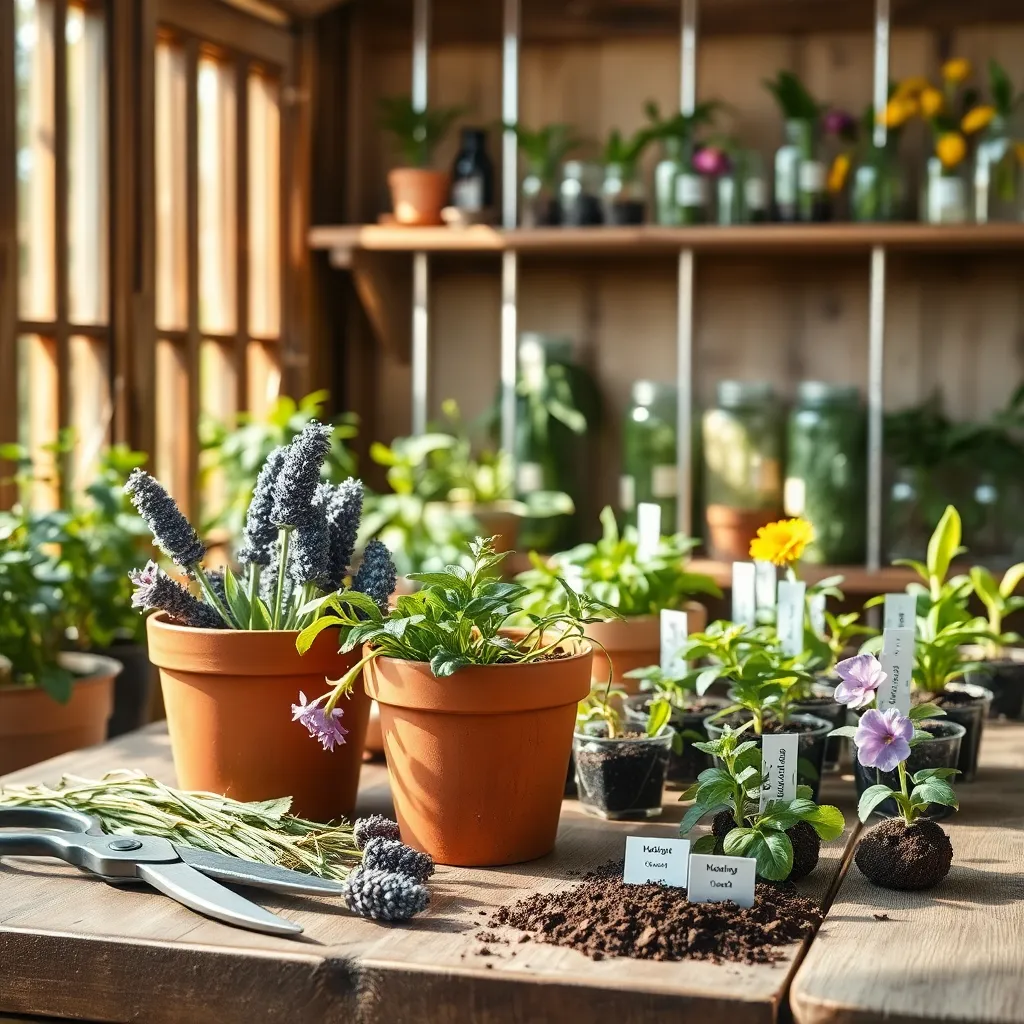
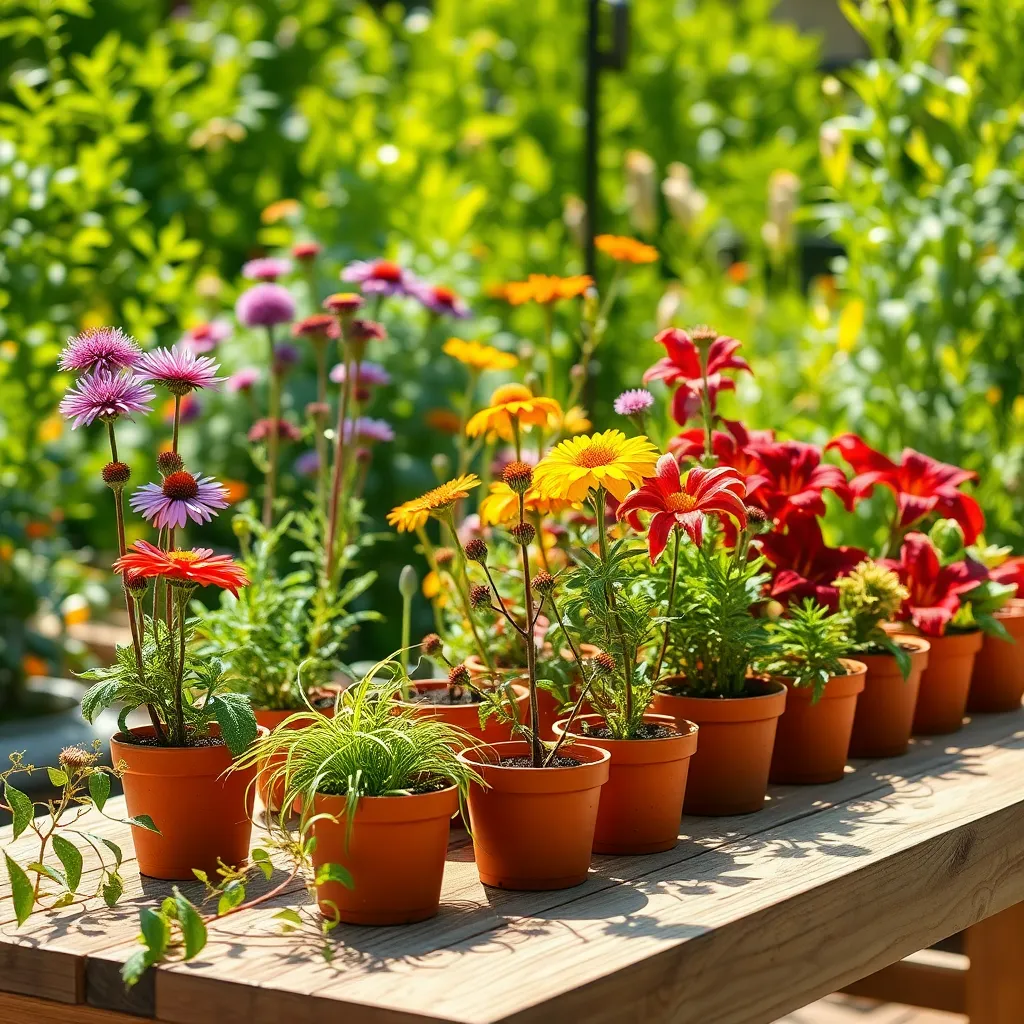
Prepare Soil and Containers
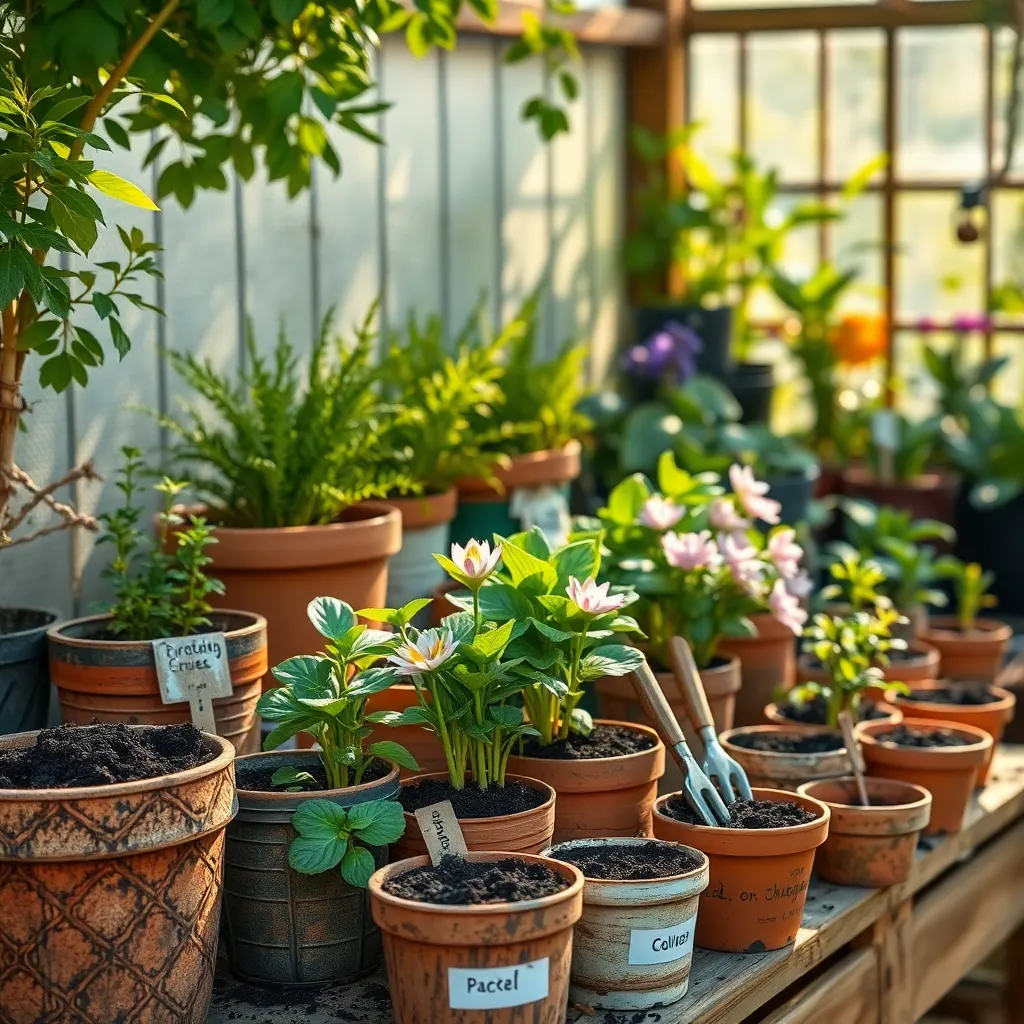
After taking healthy cuttings from your perennials, it’s essential to prepare the right soil and containers to give them the best start. Begin by selecting a well-draining potting mix that is rich in organic matter, as this will provide the necessary nutrients while preventing waterlogged roots.
Containers should have adequate drainage holes to ensure excess water can escape, preventing root rot. Opt for small pots, preferably 4-inch ones, as these are manageable and allow the cuttings to grow strong before transplanting.
Moisten the potting mix before filling the containers, which helps settle the soil and ensures even moisture distribution. This step is crucial as it prevents air pockets around the cuttings that can dry out delicate roots.
For those looking to refine their technique, consider using a mix of perlite and sphagnum peat moss, which can enhance aeration and moisture retention. Advanced gardeners may also experiment with adding a slow-release fertilizer to the mix to provide a steady supply of nutrients as the cuttings establish themselves.
Plant and Nurture New Cuttings
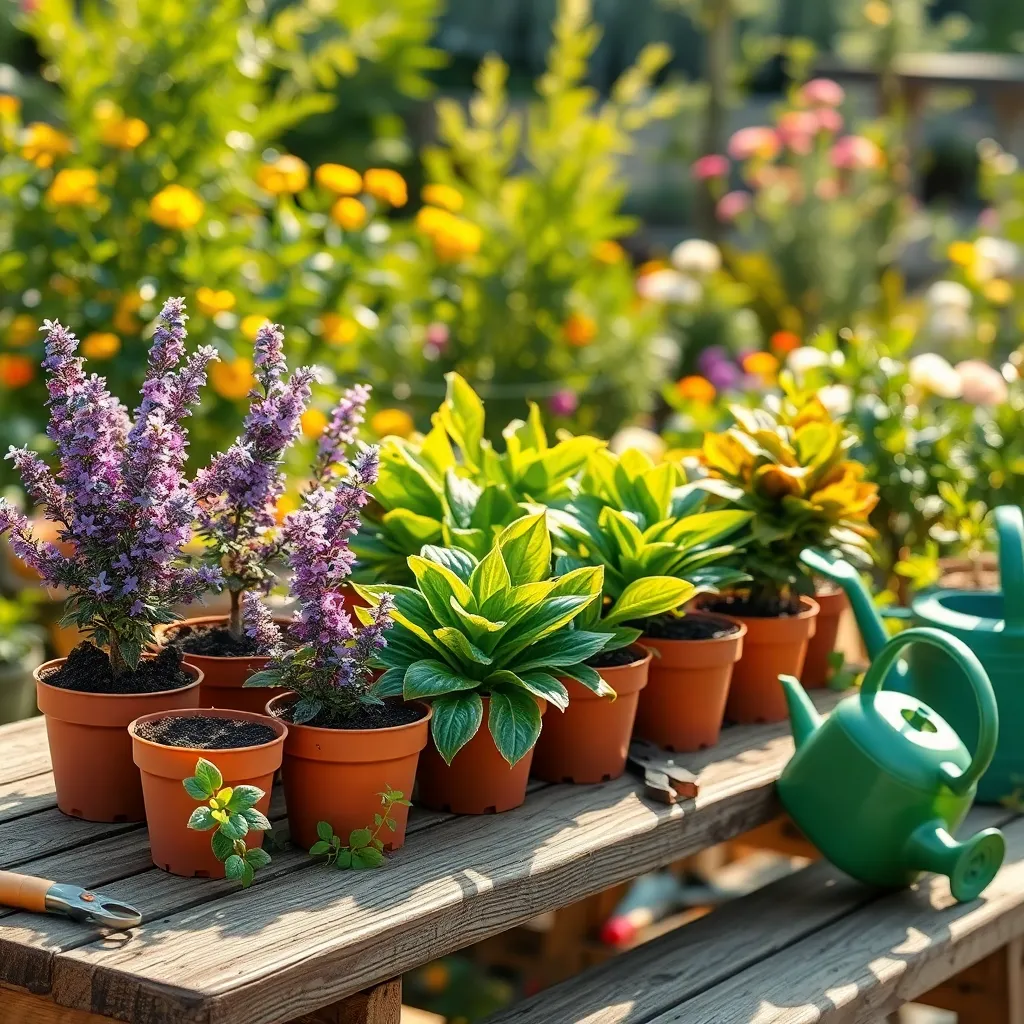
Once your soil and containers are ready, it’s time to plant your cuttings. Choose healthy, disease-free cuttings to ensure successful propagation and long-term growth.
Begin by dipping the cut end of each cutting into a rooting hormone to stimulate root development. Gently insert the cuttings into the prepared soil, leaving at least one or two nodes buried to support root growth.
Water the cuttings thoroughly after planting to settle the soil around the roots. Keep the soil consistently moist but not waterlogged, as overly wet conditions can cause rot.
Place the containers in a location with indirect sunlight to prevent scorching the tender cuttings. Maintain a warm, humid environment by covering the containers with a clear plastic bag or using a propagator to encourage successful rooting.
Conclusion: Growing Success with These Plants
As we’ve explored in ‘How to Propagate Perennials at Home,’ nurturing relationships, much like tending to a garden, requires understanding and care. We delved into five key concepts: creating a fertile environment through open communication, nurturing growth with patience and empathy, pruning negative patterns with constructive feedback, ensuring a strong foundation through shared values, and celebrating blooms as you cherish shared moments. These principles can transform your relationship dynamics, ensuring they thrive and flourish.
An actionable next step you can take right now is to initiate a heartfelt conversation with your partner, focusing on one area where growth is needed. This simple act can set the stage for deeper understanding and connection.
Remember, relationships, like gardens, need ongoing care. Bookmark this article to revisit these nurturing strategies whenever you need guidance. As you embark on this journey, envision the future success of your relationships, grounded in mutual respect, love, and understanding. By applying these principles, you’re not only cultivating a beautiful partnership today but also sowing the seeds for a flourishing tomorrow. Embrace this moment, take action, and watch your relationships bloom with vibrancy and strength.